Posts mit dem Label zig clean color real brush werden angezeigt. Alle Posts anzeigen

2019/05/14

Smurf birthday card | Lawn Fawn

Hello everyone! I can't find so much crafty time lately but I try to be ok with it because it hopefully will change again. Today I want to share a personalized smurf birthday card with you. I used lots of different Lawn Fawn products to create this interactive card.


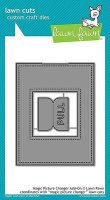
I started with creating the simple background using mowed lawn, tumbled glass and salty ocean distress inks together with a grassy hill stencil. I repeated the same background on the 'magic picture changer add-on' frame die so that I could layer it onto the background. I added some water droplets too.


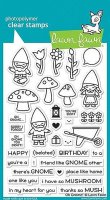
Then I traced the two dies of the 'magic picture changer' set on watercolor paper and started stamping the sweet gnome as well as the speech bubble from the 'oh gnome!' stamp set. I used versafine ink and colored it in with Zig clean color real brush markers. On the "before" side I colored the beard in a brown color and added the number 49 to the speech bubble on the "after" side I used grey for the beard and stamped 50. I also added a small gift to the second one. After masking off the images I applied some antique linen distress ink on top of it.


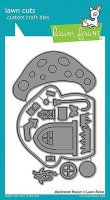
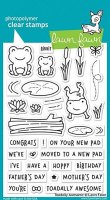
I stamped some more images from the oh gnome! set and also the 'Toadally Awesome' and 'Fairy Friends' stamp sets and colored them in too. The rest of the elements are from the two die sets 'mushroom house' and 'mushroom border'. I applied the same distress inks as before to the diecut elements together with barn door for the red mushroom parts. After diecutting everything I could assemble my interactive card.


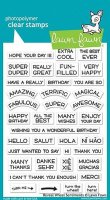
First I created the magic picture changer. Then I cut a window into the big mushroom die which would fit the magic picture changer window. I adhered it on top of the changer and added all the other element around it. The sentiment is from the 'reveal wheel sentiment' stamp set.

Last but not least I adhered the changer onto the background using foam tape and chose a white cardbase.

The following photo story summarizes the individual steps:


Thank you so much for stopping by and have an awesome day!

xo
Lisa

Supply List
2019/03/24

Welcome Baby | Lawn Fawn

Hello everyone! We enjoy a beautiful spring-like weather this weekend in Austria. It really brightens up the mood and I love being outside or preparing the balcony. However, since working days are always busy I tried to get this blog post done today :)


I am sharing a baby card (you can never have to much on stash of those) using Lawn Fawn stamps and dies. The 'magic picture changer' die is so much fun and really addictive. So I used it again on this project. I love when the interactive part is integrated in the scene - a bit more effort but I think it's totally worth!


I started with stamping all the images I would need with Versafine onyx black ink and colored them in with Zig clean color real brush markers. For the scene in the magic picture changer I sketched the frame and put in the images on the exact same place - so that everything will fit together.


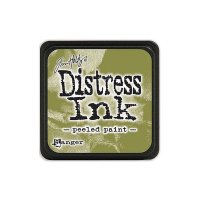
Then I prepared the background pieces with the 'simple stitched hillside borders' and distress inks. I chose tea dye for the ground, scattered straw for the sky and peeled paint for the little grassy hill. I also used the die to create a mask so that the scenes in the magic picture changer continue.


The main images are from the new stamp set 'Rawrsome' but I also used the older 'critters down under', 'critters in the jungle' and 'ahoy, matey' for additional details.


For the slider piece I used the same distress inks and after I had assembled the magic picture changer I added the frame from the 'magic picture changer add-on' and again continued the scene on this piece too.


The sentiment I used is from the critters down under set. I used foam tape to adhere the magic picutre changer to the background so that the movement is much easier. Last but not least I adhered all the other sweet images and the card was all done :)

In the photostory below you can see all the different process steps:


Thank you so much for stopping by and have a great day!

xo
Lisa

Supply List
2019/02/09

Hello Cutieasaurus | MFt stamps

Hello everyone! Today you can find me on the Stempelwunderwelt blog for a new baby card. I used the sweet Cutieasaurus stamp set from MFT stamps and many more products! Click here to visit the blog post.


Thank you for stopping by and have a great day!

xo
Lisa

2019/02/04

Birthday Unicorns | Mama Elephant

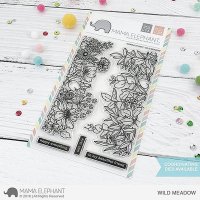
Hello everyone! I have another card with the beautiful 'wild meadow' stamp set from Mama Elephant for you. This time I used the border with the flowers and wanted to create a fairytale kind of scene.

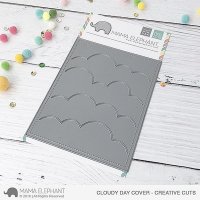
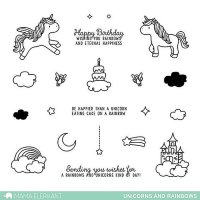
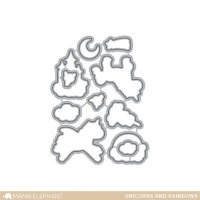
So I first stamped images from the wild meadow and 'unicorns and rainbows' with Archival jet black ink and colored them in with Zig clean color real brush markers. I diecut them and also the 'cloudy day cover' from the last Mama Elephant release.


I added some glitter to the images and blended distress inks on the cloudy background with coordinating colors.


Pale pink glitter cardstock made a great backgdrop for the clouds and went well with the other colors. I adhered everything onto the card and added small silver star sequins and also a tiny glitter heart from the 'rainbow high' die set.


I hope you like the card and here is also a short photostory about the process:


Thank you for stopping by and have an awesome day!

xo
Lisa


Supply List