Posts mit dem Label inlay werden angezeigt. Alle Posts anzeigen

2016/07/03

Welcome to the World | Mama Elephant

Hello everyone! Finally I am back with my blog entries :-) I still have to reorganize my life after 18 years of learning for school, university etc., I need a structure for my leisure time but I plan to make 2-3 cards and blog entries per week - let's see :-)

I made a quick baby-card trio because I really have to stock up my stash. To be prepared I like creating baby cards in trios - for a boy, girl and a neutral one.


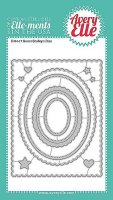
I started with diecutting the oval shape from a white piece of cardstock and the scalloped frame from another sheet. Then I colored the ovals with distress inks very gently.

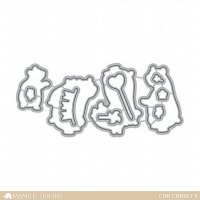
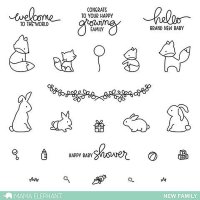
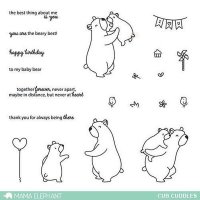
I stamped the bears from the 'cub cuddles' stamp set from Mama Elephant with Memento tuxedo black and colored them in with Copic markers. I diecut the images and used the dies for the oval shape too in order to create an in-lay look.


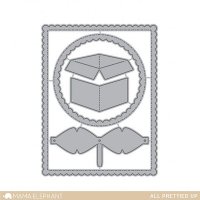
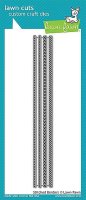
Before I clued everything to a standard-sized cardbase I've used the 'stitched borders' die from Lawn Fawn to add more detail. I stamped the sentiment from the 'new family' stamp set from Mama Elephant and die cut the cut bow with the 'all prettied up' die from Lawn Fawn paper pads.


Last but not least I added some sequins in matching colors and my card-trio was done!!

Thank you so much for stopping by and I'll see you soon!

xo
Lisa


Supply List
2016/04/02

Have a super birthday! | Clearly Besotted

Hi there! I have a very colorful card to share with you featuring the adorable 'Caped Cuties' from Clearly Besotted. Here's a look at the card design:


I made this card in 4 steps starting with stamping the images with Memento tuxedo black and coloring them in with Copic markers. I used a Copic friendly paper for that and placed the images with a wider space between them as usual. I also stamped them onto Inkadinkado masking paper and fuzzy cut the masks.

Next I masked off the images and used a coordinating distress ink color for each of the little heroes. I wanted to create a rainbow color palette. Then I die cut them using the smaller polaroid frame of the 'polaroid fun' die set from Mama Elephant. The small images fit perfectly into the polaroid frame.


For the third step I used a sheet of watercolor paper and colored in areas of the paper with the same distress inks. But unlike before I used a second coordinating color which is a little bit darker so that I would get a nice contrast. I also sprinkled some water droplets and dabbed them off with a dry sheet of kitchen towel. After preparing the 5 areas I die cut them with the same polaroid frame as before. (I could have adhered the frames directly to the colored images but I wanted an inlay look so I clued both pieces (the animals and the frames) to a white cardstock and cut them out)

Then I prepared the background by blending the distress colors blueprint sketch, chipped sapphire and black soot together and sprinkling water droplets and white watercolor from the Gansai Tambi watercolor set.


I adhered the little 'photos' to the background and die cut speech bubbles from the die set I already used. Then I stamped the greeting included in the stamp set and adhrered the speech bubbles with foam tape to my card. To finish things up I used a normal white cardbase in the same size as the background.

I hope you'll have a colorful weekend and I'll see you soon.

Thank you for stopping by!

xo
Lisa


Supply List


Copic Markers: B12, BG0000, C1, C3, C5, E30, E31, E34, E35, E50, E55, G12, R20, V04, V06, V09, W1, W3, W5, Y000, Y15, Y38, YG11, YG13, YR000, YR00, YR02.