Posts mit dem Label interactive werden angezeigt. Alle Posts anzeigen

2019/05/14

Smurf birthday card | Lawn Fawn

Hello everyone! I can't find so much crafty time lately but I try to be ok with it because it hopefully will change again. Today I want to share a personalized smurf birthday card with you. I used lots of different Lawn Fawn products to create this interactive card.


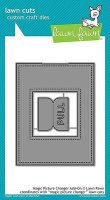
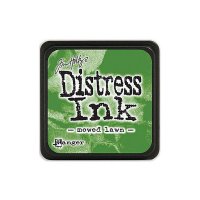
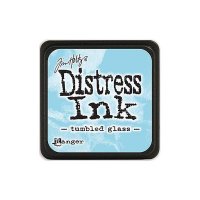
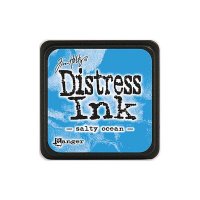
I started with creating the simple background using mowed lawn, tumbled glass and salty ocean distress inks together with a grassy hill stencil. I repeated the same background on the 'magic picture changer add-on' frame die so that I could layer it onto the background. I added some water droplets too.


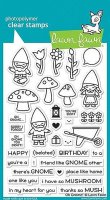
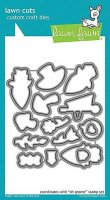
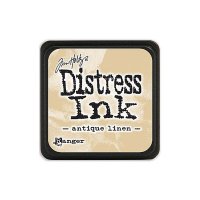
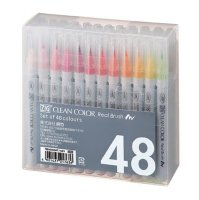
Then I traced the two dies of the 'magic picture changer' set on watercolor paper and started stamping the sweet gnome as well as the speech bubble from the 'oh gnome!' stamp set. I used versafine ink and colored it in with Zig clean color real brush markers. On the "before" side I colored the beard in a brown color and added the number 49 to the speech bubble on the "after" side I used grey for the beard and stamped 50. I also added a small gift to the second one. After masking off the images I applied some antique linen distress ink on top of it.


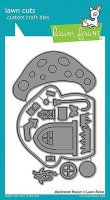
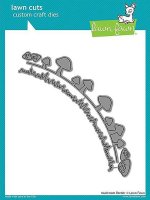
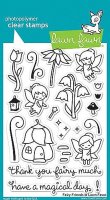
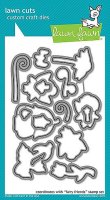
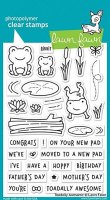
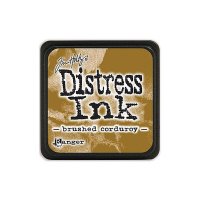
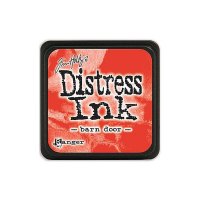
I stamped some more images from the oh gnome! set and also the 'Toadally Awesome' and 'Fairy Friends' stamp sets and colored them in too. The rest of the elements are from the two die sets 'mushroom house' and 'mushroom border'. I applied the same distress inks as before to the diecut elements together with barn door for the red mushroom parts. After diecutting everything I could assemble my interactive card.


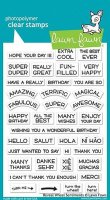
First I created the magic picture changer. Then I cut a window into the big mushroom die which would fit the magic picture changer window. I adhered it on top of the changer and added all the other element around it. The sentiment is from the 'reveal wheel sentiment' stamp set.

Last but not least I adhered the changer onto the background using foam tape and chose a white cardbase.

The following photo story summarizes the individual steps:


Thank you so much for stopping by and have an awesome day!

xo
Lisa

Supply List
2019/04/22

Birthday Wishes | Mama Elephant

Hello everyone! Today I share this interactive birthday ocean-themed card on the Stempelwunderwelt-Blog. I was inspired by the awesome new release from Mama Elephant and compared it with many older stamps and dies. You can read the blog post here.


And I prepared a short photo story:


Thank you so much for stopping by and have a great day!
xo
Lisa

2019/04/14

Cinema Brunch | Lawn Fawn

Hello everyone! Today I am sharing a personlized card on the Stempelwunderwelt Blog. A friend of mine will receive an invitation for a cinema brunch for her birthday - so I went through my Lawn Fawn stash and searched for products I could use to create a matching card.


Click here to visit the blog post.

Thank you for stopping by and have a great day!

xo 

Lisa


2019/04/11

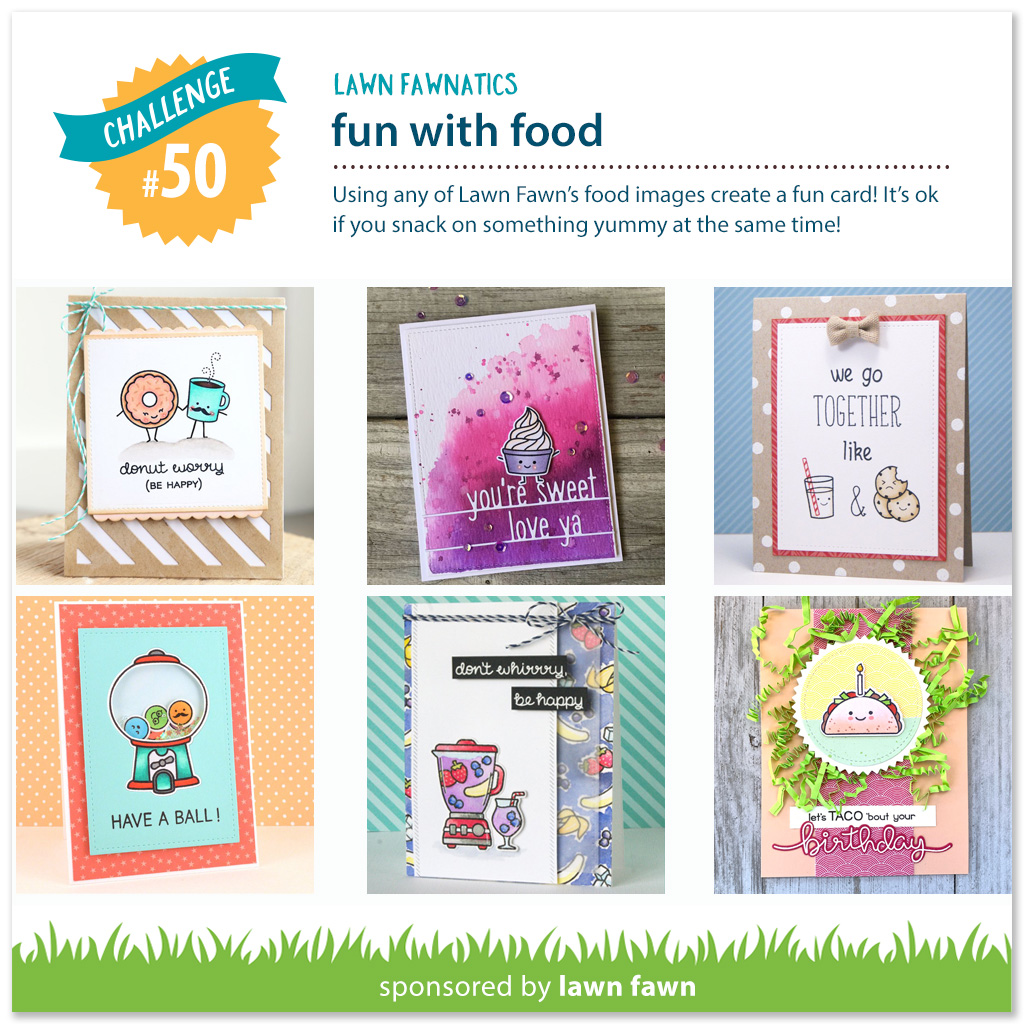
Lawnfawnatics Challenge No. 50 | Fun with Food

Hello everyone! I am back with a card for the Lawnfawnatics challenge #50 "Fun with Food".


I came up with this interactive card idea very quickly but the sweet blueberries from the genious Mona (IG: mona.toth) gave the rest to the design and were the perfect addition.


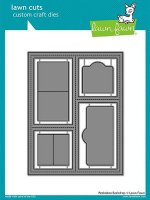
I started with the background and diecut a piece of white cardstock with the 'Peekaboo backdrop' die from Lawn Fawn. I put it onto another white cardstock and used a Tim Holtz brick stencil to create the background. I chose tumbled glass and hickory smoke distress oxide inks for my ink blending. I added the colors 1x with the inlay pieces inside and 1x without them - so that the scen could continue. In the upper left I wanted to create the illusion of a kitchen cabinet so I just masked off a rectangle and added pumic stone distress oxide ink around it.


After that I diecut three of 4 interactive flaps. A sketch of the finished card is very useful for this design so that you can choose which images you want to color. All the images which are on top of the flaps and behind you need twice.


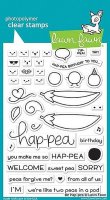
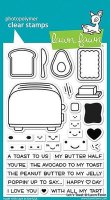
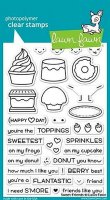
So I stamped the images with Lawn Fawn jet black dye ink and colored them with Copic markers. I added some details with a white gel pen. I used images from 'So smooth', 'Let's toast', 'Sweet friends' and 'Be Hap-Pea'.


Then I used the flap dies again on the images which will be on the front. When the flaps are closed it looks like a continous scene and when they are opened everything looks the same except for many sweet blueberries which have the time of their live :)


Last but not least I added two enamel dots as cabinet handles and added the sentiment from 'Sewn with love' and Be Hap-Pea.


Here is a short photostory about the card making process:


Thank you so much for stopping by and have a great day!

xo
Lisa

Supply List