2016/01/26

Card trio | Altenew

Hello everyone! I made a set of three cards using Altenew stamps and distress inks. Family members and friends often come around and ask if I had a card for them because they want to thank someone or send birthday wishes etc. Because most of the time this happens very spontaneous (e.g. 'I need it tomorrow') I love having some cards on stock because I know that they will be useful soon :) That's the reason why I made a birthday, thank you and 'kindness' card. You can save so much time by making more than one card at once using the same design!!


Because every card has the same design, I only walk you through the orange birthday card.

I wanted to use the beautiful flower and leaf stamps with distress inks in order to create watercolored flowers. So I pressed the first stamp of the flower into the spiced marmalade distress ink pad and then sprizzed it about three times with my mini mister which is always filled with clean water. After that I could stamp the layer onto a distress cardstock. I repeated the same step using the second layer and the distress ink pad abandoned coral after the first layer had already been dried. I did this five times per card using two different color combinations: a dark one and a light one. For the light combination I used scattered straw and dried marigold.


After letting the flowers dry I masked them off and stamped the first layer of the leafs with hickory smoke distress ink (I didn't sprizz it with water this time but used a paint brush to add only a little amount of water to the stamp on the acrylic block). Then I took the outline stamps for the leafs as wells as for the flowers and stamped it with archival jet black ink. It doesn't have to be perfectly layered - it will look pretty anyway!! (This is the huge advantage of this technique - It will turn out fine, no matter how it looks at first :) )

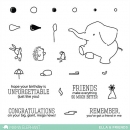
For the last step I used the sentiment from 'Ella and Friends' from Mama Elephant and stamped it right in the centre with archival jet black ink. Then I added some sequins from pretty pink posh to finish up my cards before I adhered them to coordinating standard-sized card bases.

And here you can see the other examples using different colors and sentiments:


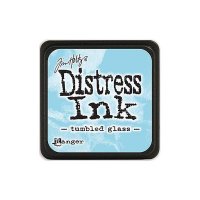
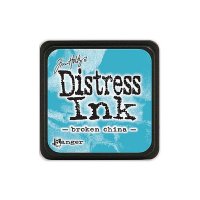
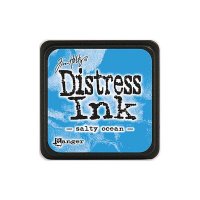
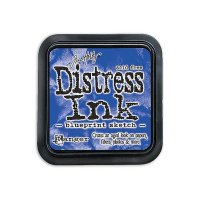
            dark flower: salty ocean, blueprint sketch                        dark flower: victorian velvet, seedless preserves
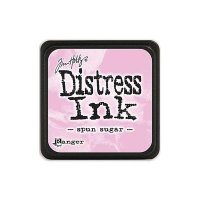
            light flower: tumbled glass, broken china                         light flower: spun sugar, picked raspberry

Thank you for stopping by and I'll see you soon!!

xo
Lisa

Supply List


2016/01/23

You make me jump for joy | Clearly Besotted

Hello dear crafters! Although I used pink colors a lot lately I am not a huge fan of that color palette. That's the reason why I decided to use a green color combination for this Valentine's Day card. Again I am using a new stamp set from Clearly Besotted: Jump for Joy. Isn't that cute??

Due to the small size and fineness of the outlines of Clearly Besotted stamps I created a side-fold card which is smaller than a standized card. It measures 10 cm x 12.5 cm (3.9" x 4.7")
I started out by stamping the sitting frog a couple of times onto a panel of distress cardstock. Then I created two masks for them and masked them off in order to blend the distress inks scattered straw, twisted citron and mowed lawn together to create a nice background. Before I removed the masks I sprinkled some water droplets to get this awesome distress look.
I stamped the hopping frog onto some distress cardstock and colored in all the frogs with Zig clean color real brush markers. After that I fuzzy cut the extra frog, adhered him with foam squares between the two sitting ones and stamped the matching sentiment.


For the card background I wanted to use some foil with my Mini Minc machine. I found a perfect  paper for this card in the 5th Avenue paper pad and foiled it with gold Minc foil. I just love these papers because it makes it so easy to add interest to a card.

So I clued the Minc paper to my card base and added the distress cardstock panel with foam tape. To finish up the card I coated the frog eyes with glossy accents.


Thank you for stopping by and I'll see you next week!

xo
Lisa


Supply List

Zig Clean Color Real Brush markers: 022,024, 040, 043, 046, 047, 091

2016/01/20

Raskog - Craft room storage

Hello everyone! Today I want to show you my IKEA Raskog organization! I just love this trolley-table for my craft room. It's really handy and holds a lot of useful stuff.

So, here is a photo from my beige Raskog. (I made the photos with my phone so sorry for the quality):


In the first section I store my favorite markers: the Zig clean color real brush markers, some distress markers and of course my copics (you see there is a lot of room for further investments, isn' there :) ). The transparent box where I store my markers, my most frequently used inks as well as a stamp cleaner is from InterDesign Linus. These boxes are just awesome! I really love them although they are a little bit pricy. However, the quality is worth the money!
Can you see the black mat in my Raskog? I don't want things shifting around or make that 'tinny' noise so I used a black anti-slide mat from my dad's workshop. I saw that they are available in many different colors; however, we had the black one at home so I used this one. 


In the next section I store my 6"x6" paper pads as well as my stand-alone-dies again in InterDesign boxes which have the perfect size!!! I keep the larger dies in stamp and die storage pockets from Avery Elle and use small magnetic sheets from Ellen Hutson. Smaller dies fit perfectly in cheap CD storage files. I divide the dies with laminated sheets of beige cardstock which I labelled with a brother label-maker.

(there is soooo much room for more :-). I also keep my magnetic sheets and empty CD storage files there to hold my dies in place)


Last but not least I store the mini Minc machine from Heidi Swapp in the third section. In two small trays I keep the foil (I always put them back in the original packaging after using the foil because in my opinion it is easier to store them in that way).


Currently I am reorganizing my paper storage. As soon as I am finished I will show you the result :)

Thanks for stopping by and I'll see you soon!

xo
Lisa

Supply List (Storage)